


You finish wiping the counter and find lint in the reflected light, or the floor dries with streaks and the faint smell of yesterday’s mop water, while a vacuum can produce its own version of this disappointment by sounding busy while leaving crumbs along the cleaner head’s path. These results aren’t interchangeable, but they all justify checking the tool before adding more cleaner.
I used to keep refolding the same cloth as though another square of fabric would restore its ambition, until I caught myself moving the same specks around. That annoyed me enough to change the question from “What else should I spray?” to “Can this tool still carry anything away?” because a reusable tool needs a clean working face, remaining capacity for soil, and a route for debris or moisture to leave.
Match the after-clean clue to the tool state
Timing does useful diagnostic work here because debris that appears during wiping can indicate transfer, while haze that develops as moisture evaporates makes retained product, excess solution, or another surface-level film worth checking. A wet-tool odor and weak vacuum pickup are also clues to inspect the tool, not proof that either symptom has only one cause.
| After-clean result | Likely tool state | First action |
|---|---|---|
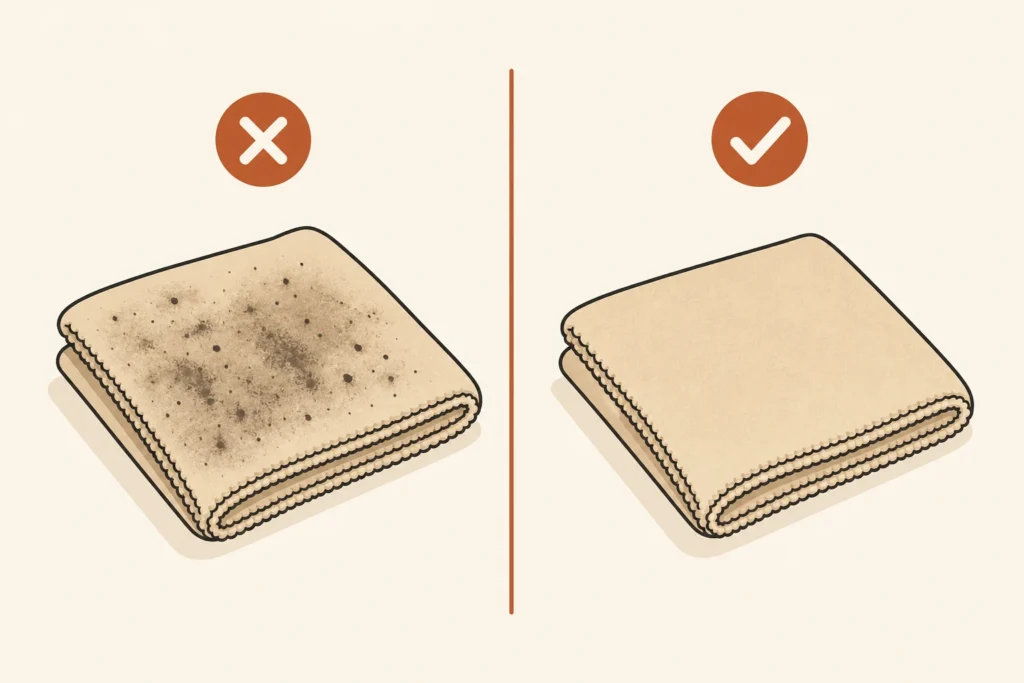
| Lint, hair, or gritty specks | The working face is carrying loose debris or shedding lint | Expose a fresh face or change tools, then remove the trapped debris before reuse |
| Streaks, haze, or tackiness after drying | The tool may hold product residue or too much solution | Compare with a freshly washed, thoroughly rinsed, well-wrung cloth or pad |
| Stale odor following a mop, brush, or wet machine | Soil or moisture remains in the tool or dirty-water tank | Empty or rinse the accessible parts, wring textiles, and dry them in open air |
| Visible debris left behind by a vacuum | The bin, cleaner head, brush roll, or filter is limiting pickup | Empty the bin, clear reachable obstructions, and keep water away from parts not identified as washable |
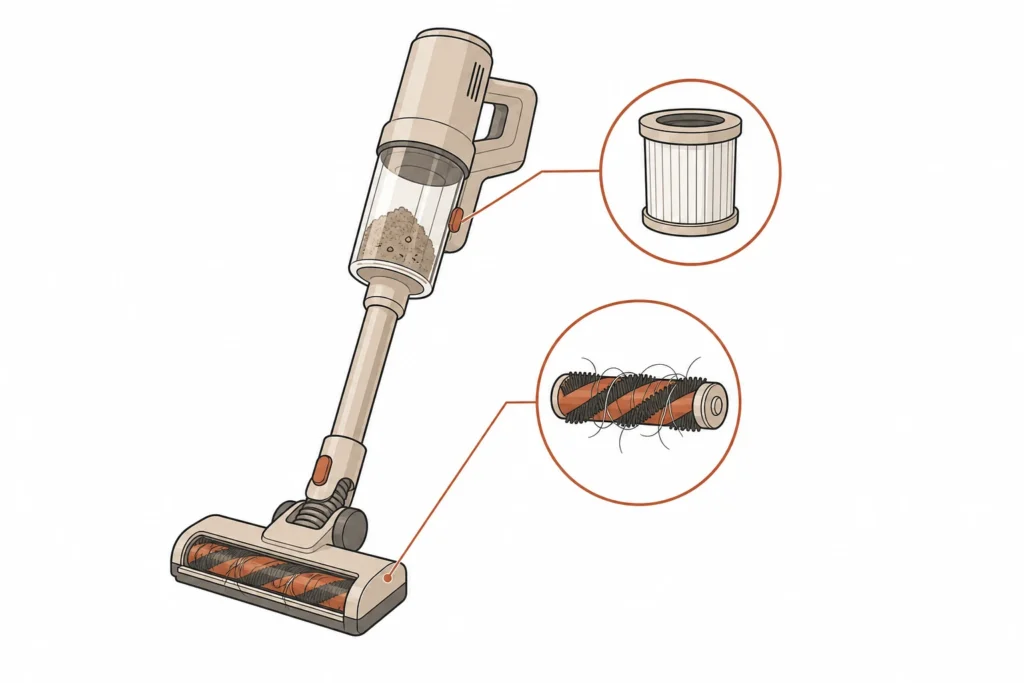
If the symptom remains with a demonstrably clean tool, let the diagnosis move on because the cleaner may be leaving residue, new soil may be entering quickly, or the surface may be stained, worn, or damaged. I find that boundary reassuring because it stops tool care from becoming another explanation stretched well beyond the evidence.
Give each kind of mess the right exit route
Emptying, rinsing, laundering, drying, and replacement solve different failures. A vacuum bin full of dry debris and a mop pad holding stale moisture don’t need the same treatment, and doing every possible maintenance task wastes time without necessarily restoring performance.
- Empty when the tool has collected material in a bin or compatible dirty-water tank. Removing that load restores capacity, but it does not clear hair from a brush roll or residue from a wet pad.
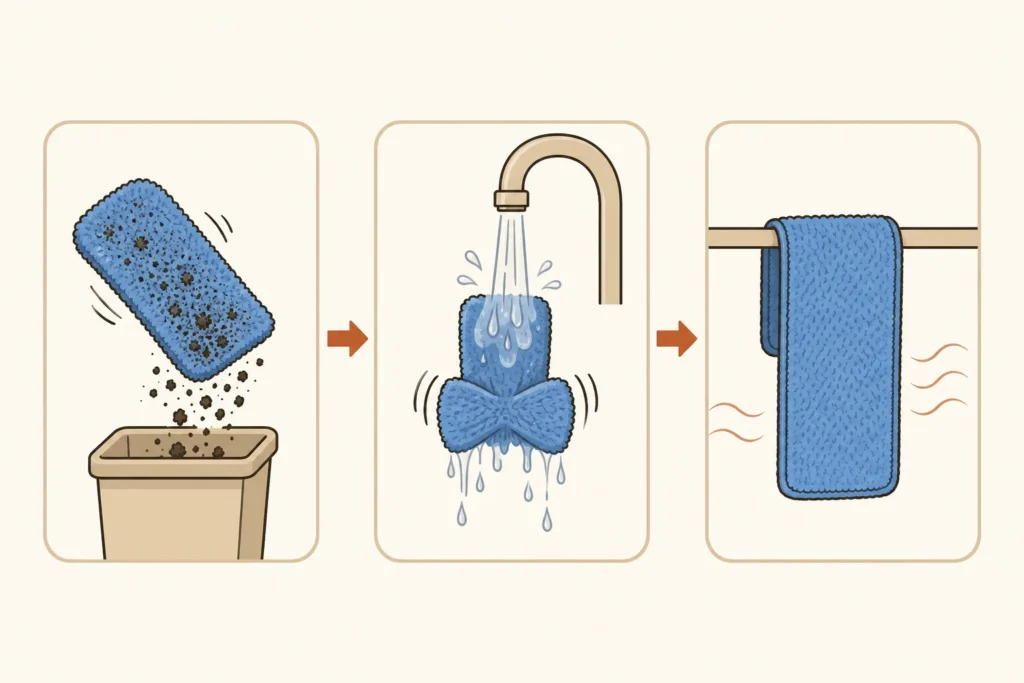
- Rinse when clean water can release loose or dissolved soil from a cloth, mop pad, brush, or water-compatible part. Rinse out released soil, then wring textiles well and launder washable tools that still feel coated or cannot rinse clean.
- Launder a washable textile tool when it looks loaded, feels coated, leaves film or lint, or no longer rinses clean. For machine-washable microfiber, low-lint loads and no fabric softener are common care directions, but blends vary, so don’t infer temperature or drying method from the word “microfiber” alone.
- Dry wet tools with exposed surfaces and airflow rather than leaving them folded in a bucket or enclosed in a machine. A washable vacuum filter or component must be completely dry before it is reinstalled, and an unidentified filter should not be wet.
- Replace only after an appropriate reset fails. Persistent odor, matting, fraying, loss of absorption, damage to the cleaning face, or repeated debris transfer shows that the tool can no longer do its job properly.
Run one fair tool comparison before changing products
A small adjacent-patch comparison can separate tool transfer from a cleaner or surface problem without sending you into another full cleaning round. Change only the tool and resist the very understandable urge to improve the second patch with extra spray or harder wiping.
- Inspect the suspected tool first. If its working face contains grit or sharp debris, don’t rub it over a delicate finish again. Remove the debris or set the tool aside, because the inspection has already found a meaningful failure.
- Choose two small adjacent sections where the symptom is visible, then use the same cleaner amount, wiping pattern, and approximate pressure on both.
- Use the suspected tool on one section only when its surface is appropriate for the test. On the other, use a freshly cleaned comparison cloth or pad that is dry to the touch or evenly damp and thoroughly wrung.
- Wait until both sections are fully dry. A surface can look clear while wet and reveal streaks, haze, or lint only as the moisture disappears.
- If the fresh tool produces the better result, reset or retire the original tool before buying another cleaner. If both sections behave alike, investigate product residue, the surface finish, or an ongoing source of soil instead.
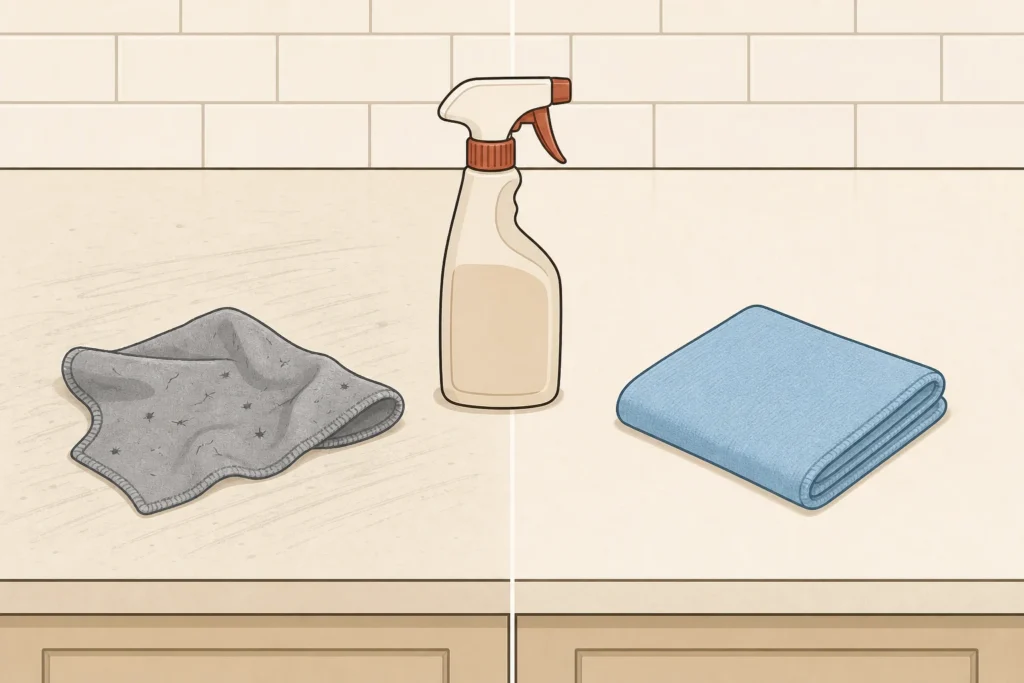
If both patches develop equal tackiness or haze as they dry, examine the cleaner amount and whether the surface was rinsed or wiped clear rather than buying another cloth, then move to a product-residue diagnosis or the floor-specific sticky-floor branch when appropriate. A mark that stays unchanged despite a clean tool and a controlled cleaner application makes staining, wear, or finish damage more plausible, and I like this split because even a disappointing test tells you where to look instead of giving you permission to spray harder.
Keep a small performance loop, not another chore system
This doesn’t need to become another chore system, so deal with a tool when it leaves a clue, after a wet or heavily loaded job, before using it on a finish-sensitive surface, or when the same disappointing result returns. A tool is ready when it can remove the next mess without leaving an obvious share of the last one behind, and that is a far more useful standard than whether it merely looks tidy in the closet.
Sources and references
- 3M: Scotch-Brite High Performance Cloth 2010 Technical Data Sheet (July 2017)
- Centers for Disease Control and Prevention: Cleaning Supplies and Equipment
- Journal of Hospital Infection / PubMed: A laboratory evaluation of the decontamination properties of microfibre cloths (2006-12)
- Dyson: Guide for How to Clean your Dyson Vacuum Cleaner
- Libman: How Often Should You Replace a Mop Head? (And How to Know When)