
A house can look tidy and still be overdue for a real deep clean. Dust hides on top of doors, grease settles on cabinet fronts, soap film builds in corners, and lint collects where a regular weekly routine rarely reaches. A deep-cleaning checklist matters because it turns an exhausting all-day scramble into a clear sequence: remove clutter, move the dust, wash the grime, then finish the floors.
Set the cleaning order before you start
The most useful rule for heavy cleaning is simple: work top to bottom, dry to wet, and cleaner rooms to dirtier ones. That prevents one task from undoing another. If baseboards are washed before ceiling dust is removed, they will need attention again. If floors are mopped before the bathroom is scrubbed, the last room can track dirt back across the house. In a home that feels especially dusty, it often helps to do all the dry work first, such as dusting and vacuuming, then return for wet cleaning.
- Pick up first. Put away loose items, dishes, laundry, and trash so surfaces are actually reachable.
- Open the space. If strong cleaners will be used, open windows or run ventilation before the wet work begins.
- Start dry. Dust ceiling corners, fan blades, vents, shelves, blinds, lampshades, and baseboards before using sprays or water.
- Save the messiest rooms for later. Kitchens and bathrooms usually need the most scrubbing, so tackle them after bedrooms and living areas.
- Finish with the floors. Vacuum thoroughly, then mop only after every higher surface is done.
That order also helps with energy. Heavy cleaning feels bigger than it is when the work is random. A structured pass through the house makes it easier to decide what counts as essential and what can wait for the next round.
Use this checklist to catch the grime routine cleaning misses
A heavy-cleaning checklist should focus less on obvious surfaces and more on buildup zones. If time is limited, prioritize the kitchen, bathroom, and entry area first. Those spaces usually show the fastest payoff.
- Dust the tops of doors, frames, curtain rods, shelves, and light fixtures before touching lower surfaces.
- Wipe switches, door handles, remote controls, and cabinet pulls, which collect fingerprints long before they look dirty.
- Vacuum along baseboards, under sofas and beds, behind nightstands, and in closet corners where hair and lint settle.
- Clean window tracks, interior sills, and the edges of mirrors where dust turns sticky.
- In the kitchen, degrease cabinet fronts, the backsplash near the stove, small-appliance exteriors, and the area around the trash can.
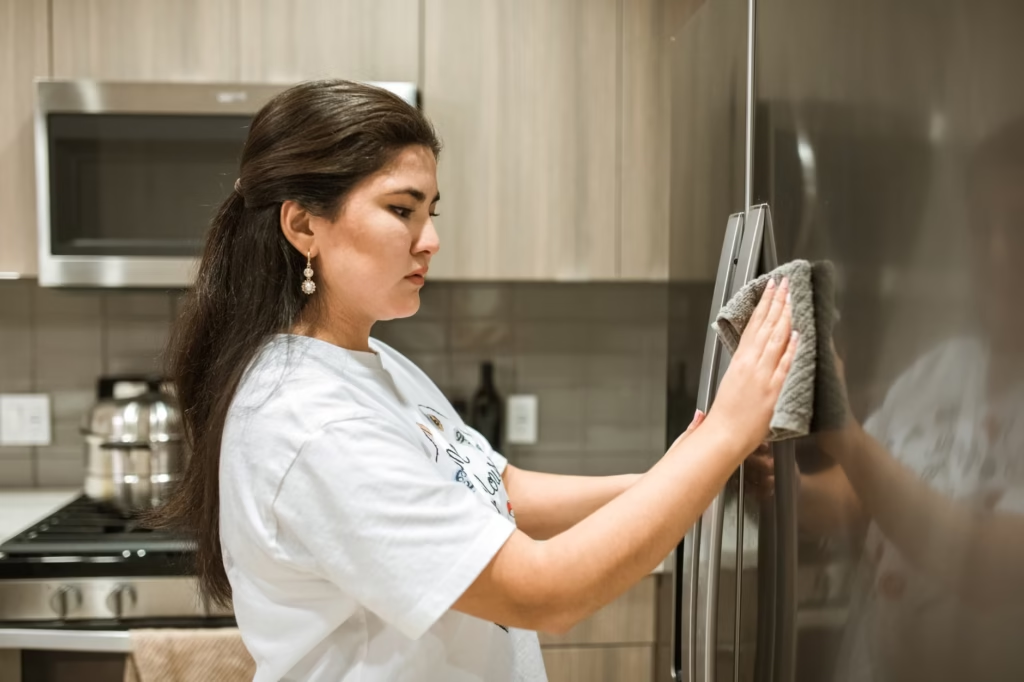
- Wipe refrigerator shelves, door gaskets, and handle areas, then check the top of the refrigerator for grease-and-dust buildup.
- Scrub the sink basin, faucet base, and drain splash zone instead of only rinsing them.
- In the bathroom, clean behind the toilet, around the seat hinges, faucet bases, drawer fronts, and the outside of the trash can.
- Scrub shower corners, grout lines, door tracks, and soap dishes where residue hardens over time.
- Dust or vacuum the bathroom exhaust cover before washing surrounding surfaces so loose dust does not fall onto them later.
- In bedrooms, vacuum the mattress surface if appropriate for the material, wipe headboards, and clear dust from under the bed.
- Wash pet bowls, feeding mats, and the floor nearby if animals are part of the household.
- Empty and wipe the inside of trash cans instead of only replacing the liner.
- Clean your cleaning tools too. A dirty vacuum head, mop bucket, or sponge can spread grime back onto freshly cleaned areas.
One useful way to keep the job realistic is to divide tasks into visible improvement and hidden buildup. For example, wiping a bathroom mirror gives a fast result, but scrubbing toilet hinges and shower tracks removes the grime that makes the room feel dirty again two days later. A good heavy clean includes both, but the second category is what usually gets skipped.
Do not confuse deep cleaning with using stronger chemicals everywhere
Deep cleaning is mostly about removing buildup, not automatically disinfecting every surface. The CDC defines cleaning as removing dirt and impurities with soap, detergent, water, and scrubbing. EPA guidance distinguishes that from sanitizing and disinfecting, which use chemical products to kill bacteria or both bacteria and viruses on surfaces. In most homes, routine cleaning is enough for many surfaces, while disinfecting makes more sense when someone is sick or when a higher-risk situation calls for it. (cdc.gov)
That distinction matters because overusing harsh products does not automatically produce a cleaner home. When a disinfectant is the right tool, the label directions matter: the surface usually needs to be cleaned first, the product must stay wet for its full contact time, and protective gear or ventilation may be recommended. (cdc.gov)
Never mix bleach with ammonia or with other cleaners or disinfectants. Official CDC and EPA guidance warns that mixing products can release dangerous fumes, and both agencies also recommend good ventilation during and after cleaning. (cdc.gov)
If bleach is being used for disinfection, follow the product label or official dilution guidance, and make only what is needed for the day. The CDC notes that diluted bleach solutions lose effectiveness after about 24 hours and should be freshly prepared if mixed with water. (cdc.gov)
A strong heavy-cleaning session does not have to mean turning the whole house upside down. Follow a smart order, target the neglected buildup zones, and use stronger products only when they solve a specific problem. That is what leaves a home looking cleaner and helps it stay that way longer.