


Kitchen grease usually stops being a simple wipe-down problem once it mixes with steam, dust, and tiny food particles. That is why a dry paper towel often just smears the film around. A better approach is to soften the residue first, then lift it away in layers instead of scrubbing hard from the start.
For most kitchens, the safest place to start is warm water, a little dish soap, and a microfiber cloth. If that removes most of the film, there is no reason to jump straight to bleach or a heavy degreaser. CDC guidance also makes an important distinction here: cleaning and disinfecting are not the same job, and in ordinary home situations, soap and water are often enough for routine surface cleaning.
Start with a two-pass method instead of the strongest cleaner you own

The best general method is simple: loosen first, wipe second. That keeps grease from spreading into a larger sticky area and lowers the risk of damaging painted, laminated, or stainless finishes.
- Dry-wipe crumbs and loose dust first so they do not turn into muddy streaks.
- Dampen a microfiber cloth in warm water with a small amount of dish soap. The cloth should be wet, not dripping.
- Press the cloth onto greasy spots briefly to soften the film before wiping.
- Work from top to bottom, folding the cloth often so you are not rubbing grease back onto the surface.
- If a sticky layer remains, switch only that area to a surface-safe degreaser or the cleaner recommended by the manufacturer.
- Finish with a clean damp cloth to remove residue, then dry the surface with a soft towel.
Open a window if you are using stronger products, read the label for surface compatibility, and never mix cleaners. EPA and CDC guidance both warn against combining bleach with other cleaning products because the vapors can be dangerous.
Cabinets need moisture control more than aggressive scrubbing
Cabinet doors collect one of the worst kinds of kitchen grime: a thin, sticky film that builds up slowly around pulls, corners, and the upper doors closest to the range. This is also where people often over-clean and damage the finish.
Use the mild soap-and-water method first and work in small sections. Wipe around knobs and handles with the corner of the cloth or a soft toothbrush. Then dry the surface right away. That last step matters more than many people realize, especially on painted wood, MDF, or older laminate, where standing moisture can dull the sheen or creep into seams.
If the grease sits above the stove and still feels tacky after one pass, repeat the same method before moving to a stronger spray. A lot of cabinet buildup comes off on the second gentle pass. If it still does not, use a cleaner specifically approved for that cabinet finish rather than an all-purpose product chosen at random. Whirlpool’s general cabinet guidance also emphasizes using manufacturer-recommended cleaners and drying thoroughly after wiping.
The stove and backsplash can take a stronger approach, but only on the right materials
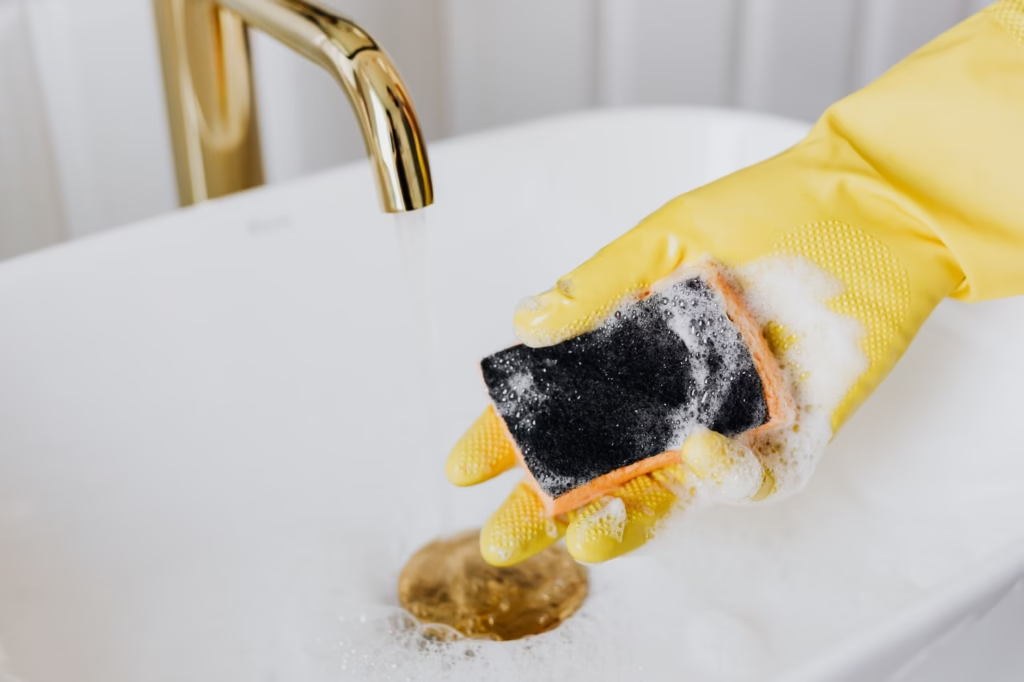
Grease near burners is different from grease on cabinets because heat partially cooks it onto the surface. Let the stove cool completely first. Then remove what you can: loose crumbs, splatters, and any pooled oil. On many cooktops, grates and burner caps can be cleaned separately in hot, soapy water, but some cast-iron pieces should not be soaked unless the manufacturer says that is acceptable.
For the cooktop itself, start with a non-abrasive cloth or sponge. If the grease is baked on, a surface-safe degreaser is usually more effective than scrubbing harder with a rough pad. That is the tradeoff worth remembering: abrasion may remove grease, but it can also scratch glass, enamel, coated metal, and shiny trim.
Tile backsplashes are usually more forgiving than cabinet faces, but haze is common if cleaner residue is left behind. After the grease is gone, wipe tile again with plain water and buff it dry. If grout is stained, use a soft brush and patience rather than flooding the area with a harsh product. More chemical strength is not always better, especially in narrow grout lines or around caulk.
Oven interiors are their own category. If the appliance has a steam-clean feature, GE notes that it is meant for light soil and small spills, not a heavily carbonized oven. It also advises using only water in that cycle. For anything tougher, the owner’s manual is more useful than guesswork.
Appliance fronts look cleaner when you remove the residue, not just the grease
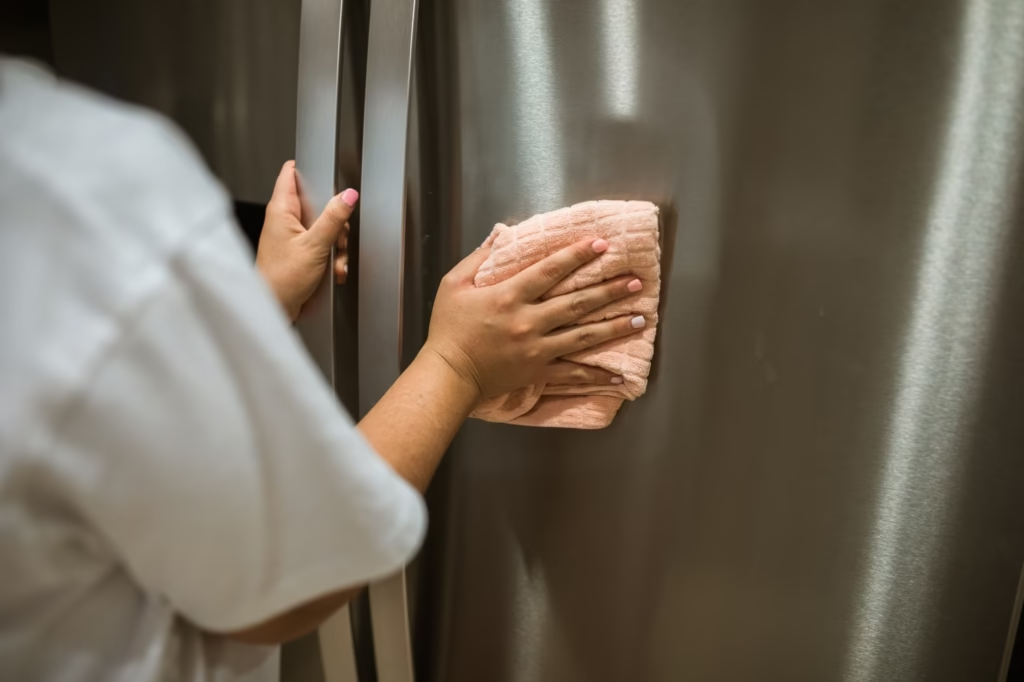
Microwaves, refrigerators, dishwashers, and small appliances often seem greasy even after cleaning because a thin film of cleaner dries on the surface. The fix is simple: after the main wipe-down, go back with a clean damp cloth, then dry with a fresh microfiber towel.
On stainless steel, wipe in the direction of the grain rather than in circles. That small adjustment helps remove smudges without leaving streaks. Spray cleaner onto the cloth when possible, especially around buttons, seams, and display edges, where too much liquid can collect.
If grease keeps returning quickly, the problem may not be the cleaning method at all. The area around the range may be catching airborne cooking residue faster than the rest of the kitchen. In that case, the hood area, filters, and the upper cabinet faces usually deserve attention before the lower doors and appliance fronts do.
The practical rule is straightforward: use the mildest method that fully removes the film, then rinse and dry well. Most kitchen grease comes off with patience, repeat passes, and the right cloth. Stronger cleaners have a place, but surface type matters more than force.