

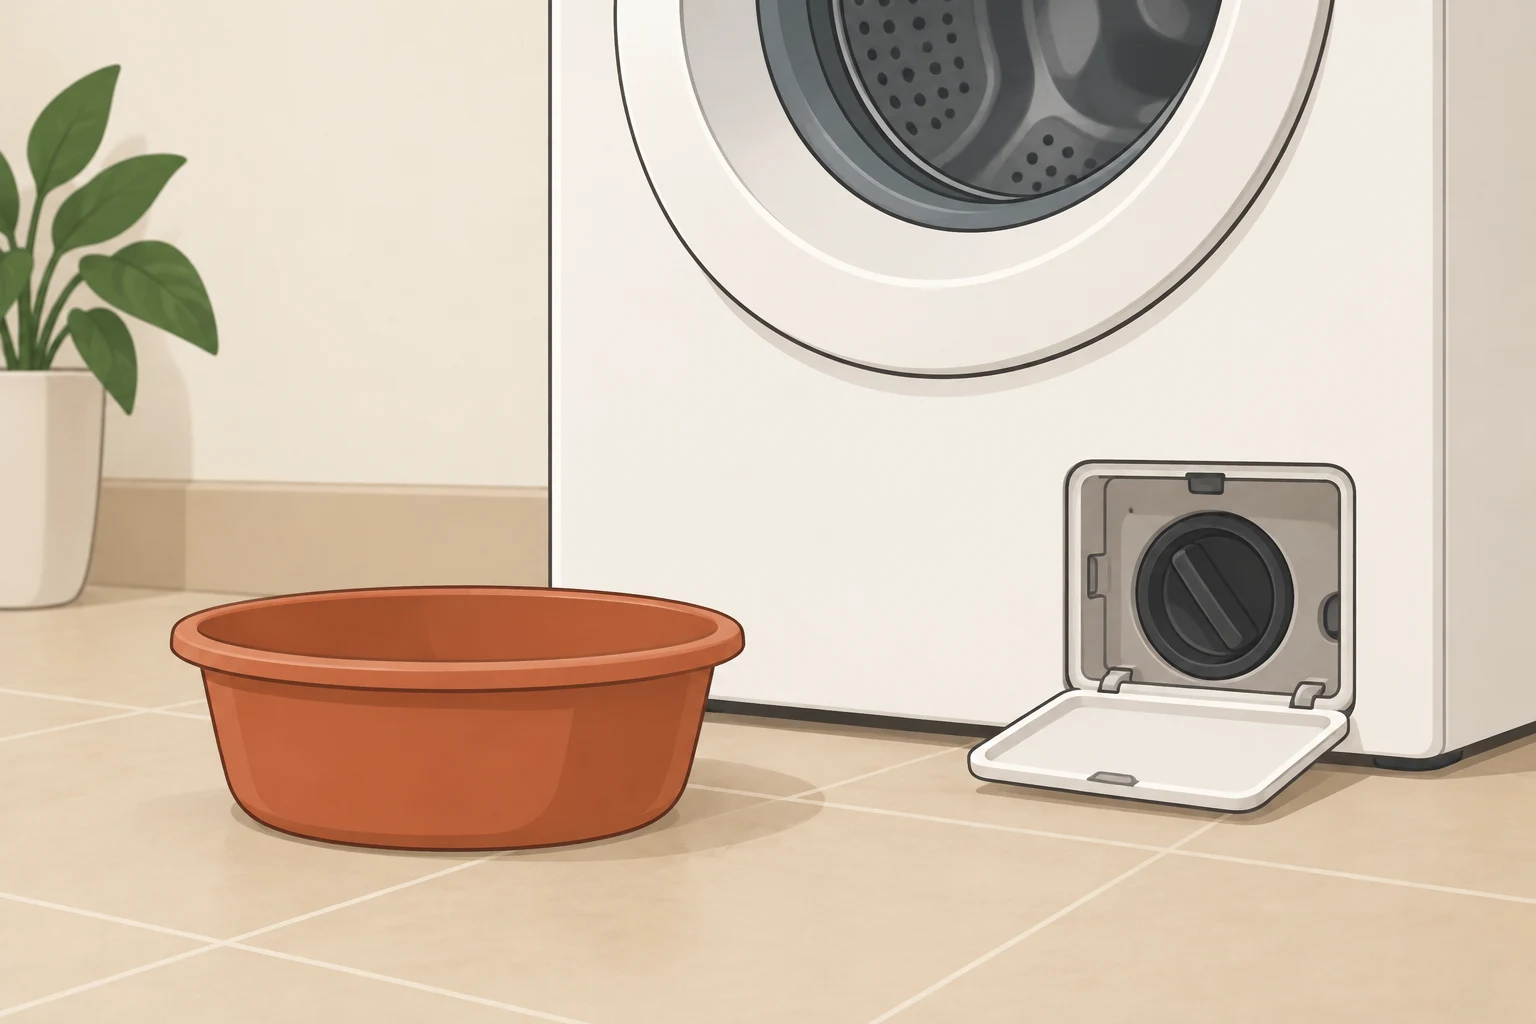
Know the specific washer model you have. Open yours only if the user's guide allows draining the pump filter. Some units drain via a tiny emergency hose. Others expel water once you loosen the filter. Those are different methods, not steps to do in order. Avoid a flooded room by following directions that correspond to your model, not someone else's video.[1][2][5]
1. Match your model to owner instructions
Look up the complete model number on the washer's data tag. Find that model's user guide. Search inside for "drain-pump filter", "pump filter", or "emergency drain". Ensure the instructions are for owner servicing and that the cap/access cover, filter, and any drain hose shown are identical to those on your washer.
"Filter" by itself doesn't cut it: an inlet-water screen or user-removable lint filter is not considered a drain-pump cleanout. GE manuals list top-load pumps with no owner cleaning required as well as lint-filter removal exceptions. Neither style of loading nor brand allows you to open a pump assembly.[1][2]
Only proceed if the model is the same as the illustration, and you can easily access the components shown. If you need to take apart the cabinet to access the parts, or your model is different than the one shown, do not continue. Contact manufacturer technical support to find out if that exact model has an owner-changeable pump filter and where the directions are provided. If this is a rental washer, confirm with your landlord who will be performing the maintenance prior to disassembly.
2. Prepare shutdown and water collection
Read all instructions before beginning. Do the drain cycle instructed before proceeding, then follow the electrical-isolation AND cooldown instructions in the order listed. LG WM2688H*Manon plug directions include cooling off water before cleanout. Samsung's instructions say to wait one hour after a hot cycle; observe that waiting period only if the identical instruction also applies.[2][4]
Place an empty shallow catch basin directly over the valve outlet. Surround it with towels for additional drips. Before opening: be sure you have clearance for the catch basin that will be under the valve outlet. Don't open if the top of the bowl won't fit under the outlet. Make sure you can attend to the bowl and not have an open water outlet untended. If your setup does not allow you to follow this and the instruction manual's draining instructions, do not proceed with opening.
An apparently empty drum does not imply that the filter housing is dry. GE gives general guidance that suggests there was about a cup of water released; the GFWN1100-family manual specifically expects about a quart, and cautions that additional water remains in the basket. Use the specific manual's estimate, and know your washer retains water.[5][6]
3. Drain through the permitted outlet
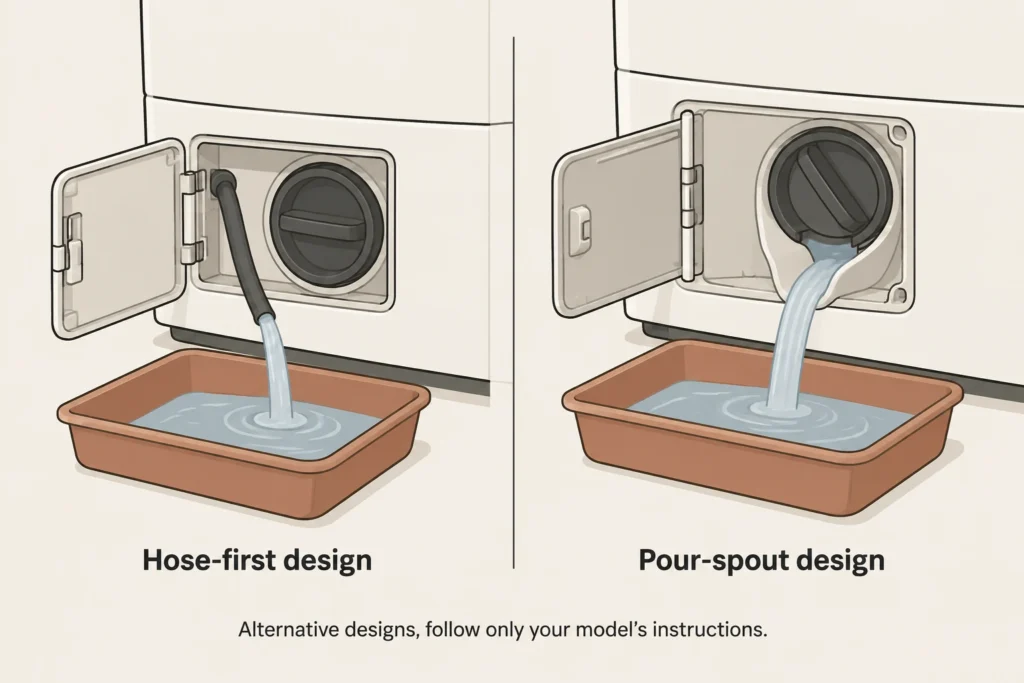
Hose first: Drain through the hose into a bucket first, leaving the filter in place. LG WM26AH*8#: After it drains and stops, remove the filter according to the instructions above (documented release procedure). LG notes that you can loosen the hose by pulling too much and kink it. Also, water may leak when the filter is removed. Leave the bucket and towels underneath.[2][3]
Hose-first design: The GE GFWN11#B# removes the filter opposite the fill hose. Pour-spout design: The GE GFWN1100-family instructs you to pour water out through the top as you loosen and remove the filter. Place your container under that spout and begin following the instructions from the manual's first step. Don't try to reverse a hose-first procedure or yank the filter out with water still dripping.[5]
If you do not feel the anticipated release, do not assume that there is no remaining water. Resistance does not necessarily mean a stuck cap either: Samsung notes that some models need to be pushed in while turning. Check your model's release technique. Cease if the cap remains resistant or the draining action varies from the directions; do not force it or try to create a new drain.[3][4]
4. Clean, reseal, and check the assembly
Clear all foreign matter and service only the user-serviceable items indicated in the manual. Inspect the filter, sealing surfaces and any emergency hose for visible damage and foreign matter prior to reinstallation. If any seal is damaged or out of position, the closure is cracked or the seal location is questionable, STOP. Do not attempt to repair with tape, lubricant or sealant.
Install the filter onto the seating mark indicated in the manual as the alignment/zippering point. Replace the emergency-hose cap and hose clip (if applicable) and close the access panel as instructed. LG notes improper filter seating and loose emergency hose caps as potential reasons for leaks. Do not overtighten. Use of tools or additional force will not compensate for improper threading/seating.[2][7]
Dry the area around it so you can tell fresh water from a cleanout spill. After all closures are replaced, run the model-approved check/test cycle and look for new water during operation and after. When done, there should be no more fresh leaks, not just a clean-appearing filter.[8]
If leakage occurs, shut off the washer and follow the shutdown instructions provided with the washer. Do not re-open the filter while the machine is operating or contains hot water. Set it aside and do not use it if you are unable to close it properly or if damage is noticed. Continued leakage, failure to drain, or drain-related errors after performing the above steps may need model-specific service evaluation. Please include the complete model number, what panel was opened, where water came from (fresh), and the error code if any.[7][8]
Sources and references
- GE Appliances: Top Load Washer, Lint / Pump Filters
- LG Electronics: LG WM2688H*M Owner’s Manual, maintenance page 17
- LG Electronics: LG Washer, How to Clean the Drain Pump Filter (2026-06-01)
- Samsung Electronics America: How to clean your Samsung washer
- GE Appliances: GE GFWN1100-family Owner’s Manual, pump-filter page 15
- GE Appliances: Front Load Washer, Cleaning a Pump Filter
- LG Electronics: LG Washer, Why is My Front Load Washing Machine Leaking? (2026-09-10)
- Samsung Electronics America: Samsung washing machine is leaking