

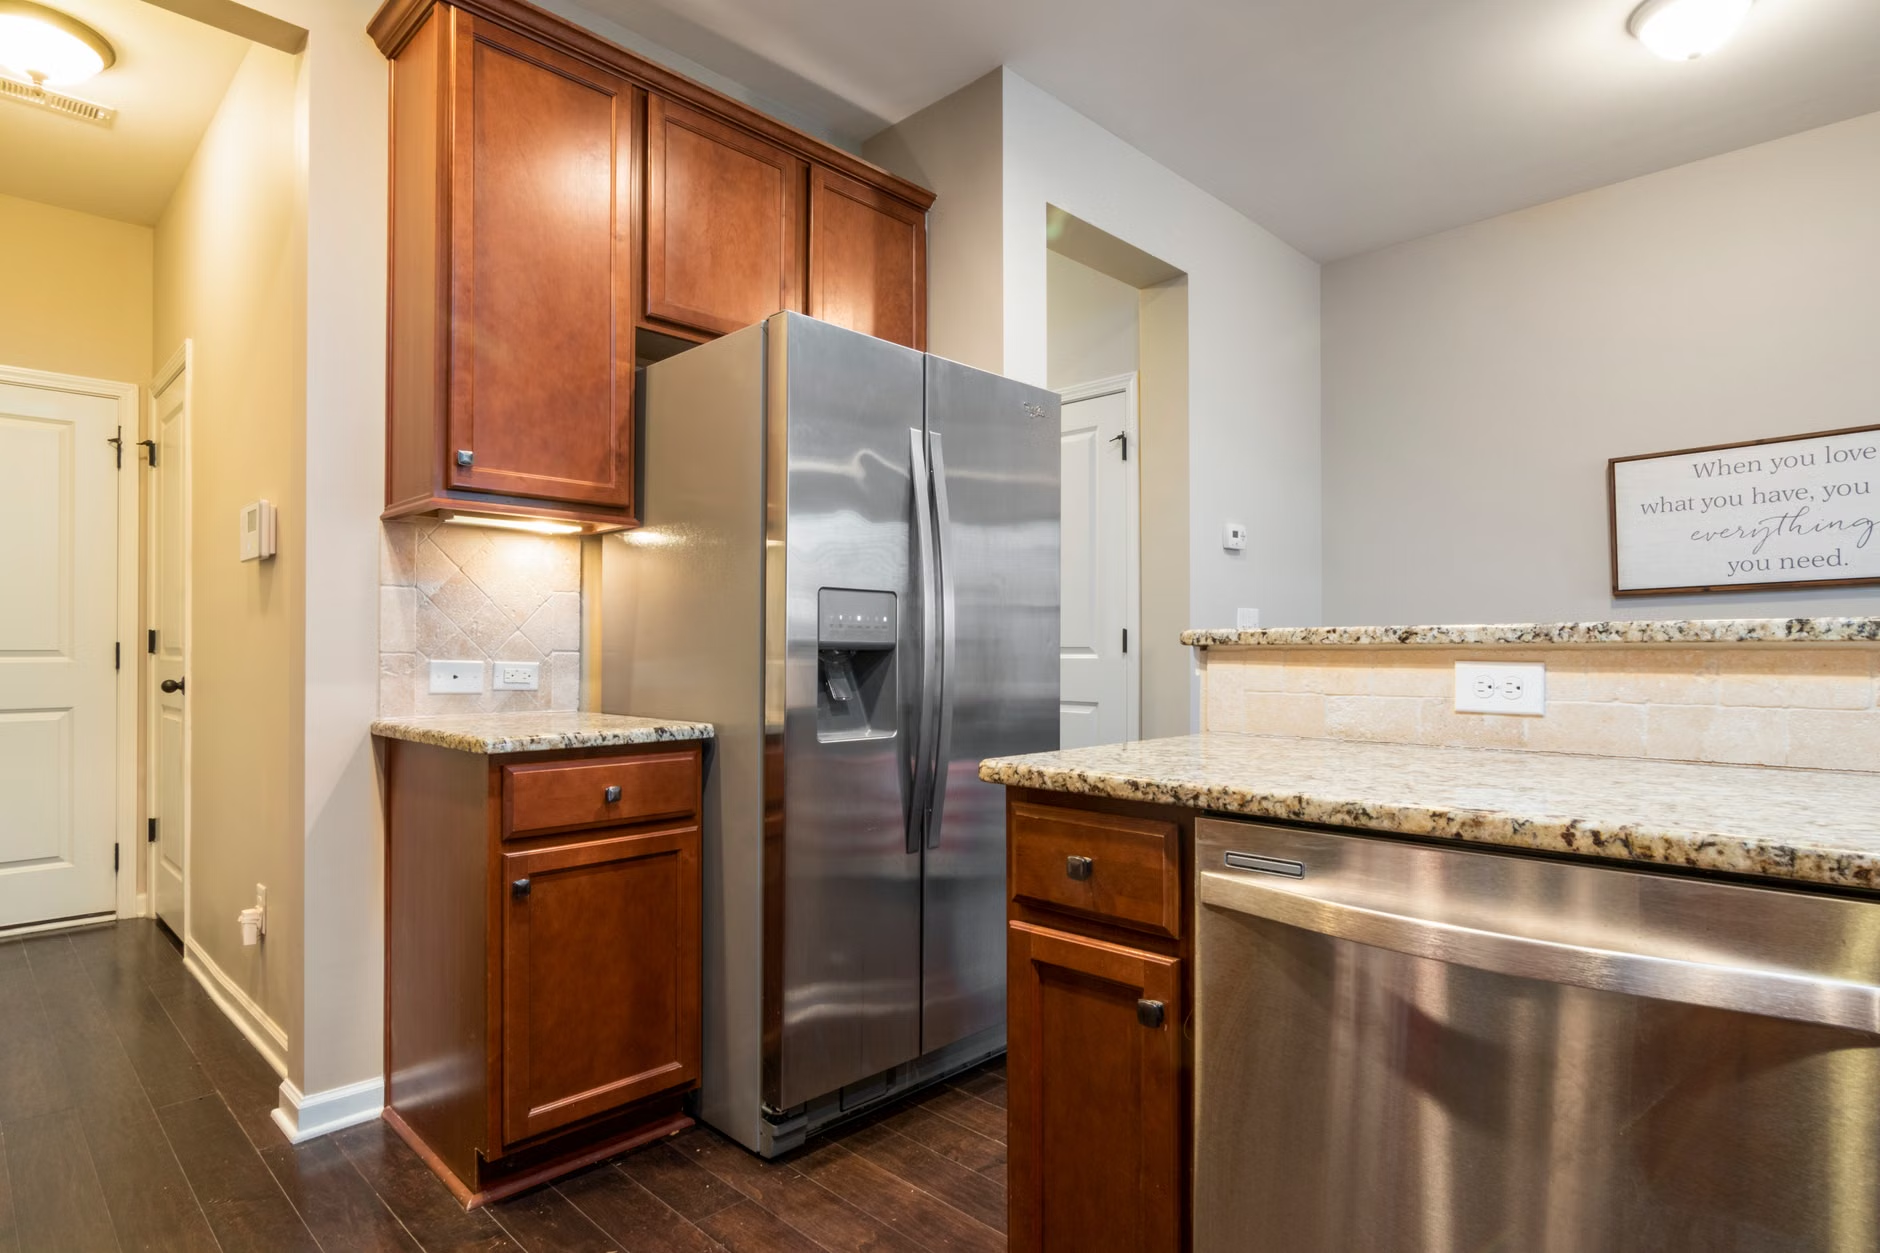
A cabinet face can usually handle cleaning. Cabinet seams and exposed edges can't handle much moisture. Follow the cabinet maker's recommended procedure. Spot test on a small out-of-sight area of the same finish. Wipe off cleaner as instructed. Evaluate the results only after it has dried. Start with a cloth slightly dampened with water, not a harsh degreaser, if you don't know the finish. Test an intact hidden section. Discontinue if you notice any change in the coating or edges.[1][2][6]
1. Check the finish and vulnerable edges
Search for the cabinet manufacturer and product series via labels in reachable places, installation notes, or purchase information. Question the landlord or person who installed the cabinets if the doors have been repainted or refinished; original installation directions might not match the finish you're trying to clean. Avoid scraping, prying off a layer, or using a solvent to test it. Wood grain, painted texture, or flat shine do not necessarily mean what you think they do.
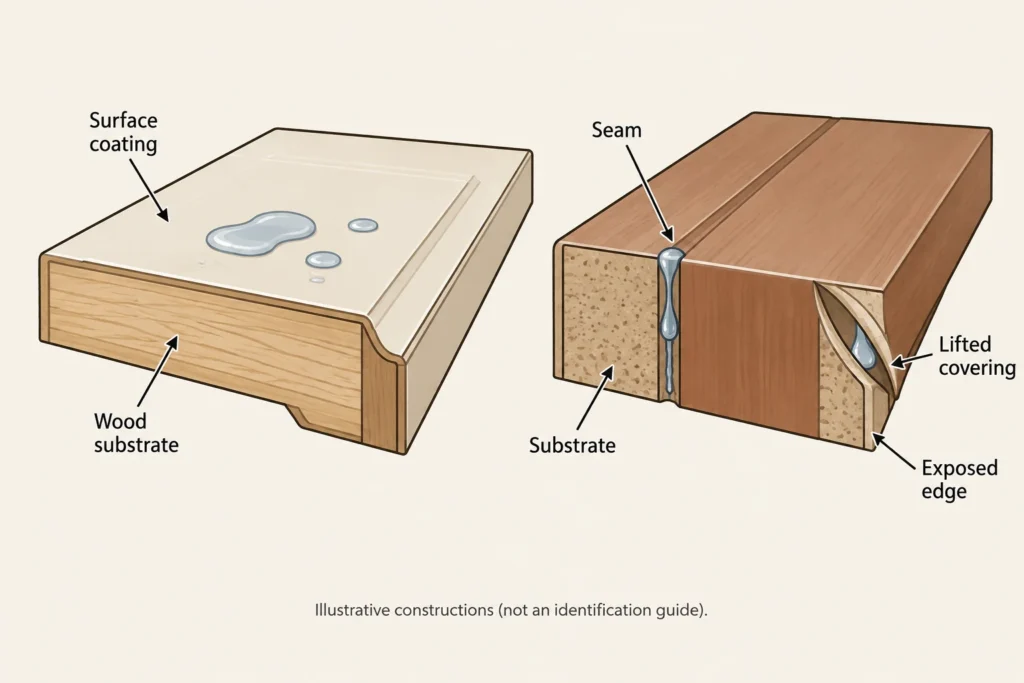
Treat the surface as distinct from the material beneath. For instance, on painted or clear-coated solid wood or wood veneer, the cleaner interacts with the paint/coating, rather than just “wood”. Allow paint finishes to dictate terms with painted doors. Laminate, melamine, and thermofoil doors all have unique surface compositions and just because one allows a cleaner doesn't mean another will. Formica even warns not to generalize between products that have a similar matte appearance.[2][3][4]
Check door corners, panel seams, edges, and areas around handles for cracks, lifting coverings, bare substrate showing, or current swelling. Formica cautions that moisture penetration inside laminate seams can cause substrate swelling. KraftMaid cautions that some aggressive solvents can affect the bond of the edgebanding on its melamine and thermofoil products. A flat face that is washable is not the same as a waterproof cabinet assembly.[2][3]
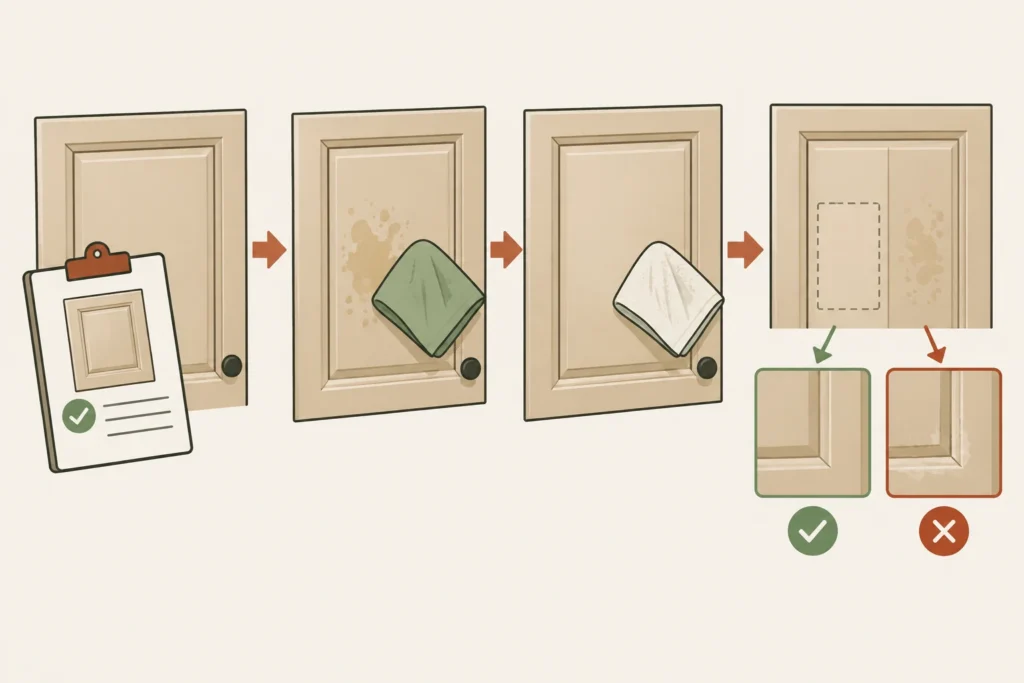
Take pictures of any faded, murky, cracked or bubbled areas prior to testing. Do not include these areas when spot cleaning with water. Only test either with authorization to clean or on a visibly unknown surface you know for sure can have water applied to a small section. Even if you just had the doors refinished, you need to double-check how long the specific finish needs to FULLY cure. According to General Finishes, you should NOT clean until the finish has fully cured; being dry to the touch is not an indication of full cure.[4][6]
2. Select a permitted cleaning solution
Cross-reference the cabinet/coating instructions with the specific cleaner label. Check what surface/product/type of cleaner/dilution/application method/residue removal expectations are allowed. MasterBrand's instructions allow for a light hand-dishwashing liquid solution on the cabinets it certifies, then removing residue and drying. It does not allow for dishwasher detergent, a different cleaner's dilution ratio, or that same mixture on an unknown finish.[1][5]
"Just for wood" is not adequate approval either. KraftMaid specifically recommends an emulsion-type oil-soap cleaner in its care instructions. General Finishes specifically recommends NOT using oil-soap daily cleaners due to possible problems with coatings adhering in the future. They are talking about two different products and finishes. Do what is recommended for the finish that is on your doors; if it violates a cleaner's directions, pick a different cleaner that explicitly says you can use it instead of mixing recommendations.[3][4]
When testing an unidentified intact finish, start with a lint-free cloth moistened with only water. This test is only to confirm limited compatibility, not to indicate that water will successfully remove cooking grease. Think of detergent as an option only when advised by applicable care information or confirmed by the owner/supplier to be appropriate for that finish. Passing the water test does not mean you are cleared to use another solution. If you want to try detergent, retest.[6]
Avoid using a scouring pad, powdered cleanser, solvent or heavy-duty degreaser just because the finish is tough. The Sher-Wood coating-care instructions, for instance, allow only mild soap or detergent to remove cooking-vapor buildup, but specifically rule out scouring pads, powdered cleansers, ammonia, bleach or exposure to oven cleaners. If there's no similar allowance for your cabinets, more aggressive cleaning is an untested compatibility gamble.[7]
3. Test cleaning through the dry result
Select an inconspicuous small area that matches the finish on your greasy cabinet face. An unfinished door back or interior with a different coating will not provide assurance for the front. Keep a section next to it untreated to compare both areas in the same light. Observe the patch's original color, shine, feel, and stickiness before applying anything.
Use a clean, soft white cloth so you can see the transfer. Apply your solution of choice to the cloth and squeeze out excess until it cannot drip anymore. Gently wipe the patch without saturating or allowing liquid to pool on the surface. Check both your cloth and the area being cleaned as you go. If you see the coating begin to soften, smear or lift, STOP. Brown transfer only indicates that you've removed something, not what was removed.[6]
Perform the recommended residue removal step with a clean cloth. Dry quickly with a lint-free soft dry cloth. When instructed to wipe with water, use a clean well-wrung-out cloth, NOT a wet rinse. Allow excess moisture to evaporate and then compare the test patch. Testing methods from the Canadian Conservation Institute recommend testing for migration of finish as you clean and for bleaching or opaqueness once dry; a wet patch is not an indication of compatibility.[1][6][7]
| Observation | What it establishes | Next action |
|---|---|---|
| Less greasy; color, sheen, texture, and edges unchanged | The limited test supports this method on this intact patch. | Continue in small sections, watching for differences in wear or condition. |
| Brown or yellow material on the cloth | Material transferred, but its color alone cannot distinguish soil from coating or old residue. | Compare the dry finish. Do not treat continued transfer as proof that more cleaning is needed. |
| New softening, smearing, apparent coating-color transfer, or increased tackiness | Possible coating disturbance; this is not a successful grease-removal result. | Stop using the method. Do not rub again to confirm damage. |
| New cloudiness, fading, or a shiny or dull patch after drying | The surface changed, even if the grease looks better. | Stop. Do not attempt to even out the appearance by cleaning the surrounding area. |
| New swelling, raised edge, or lifted covering | A construction change occurred, not merely remaining soil. | Stop liquid cleaning and request assessment of the affected door or edge. |
| Tackiness remains, but no other change is visible | The cause remains unresolved; tackiness alone does not prove remaining grease. | Reassess residue removal and compatibility before any further treatment. |
Long-lasting tackiness may be due to leftover soil, cleaner/polish residue, or changed coating. These possibilities compete; they are hypotheses, not diagnoses that can be established from feel alone. If the specified cleaning/residue removal procedure results in a sticky spot, escalating to harsher degreasing isn't necessarily called for.[6]
4. Clean small sections or stop
Extend the successful method only as far as you can wipe it down, scrape residue away, and dry quickly. Keep liquid on the cloth instead of spraying or drowning the door. Avoid exposed substrate and lifting coverings. Don't push a wet cloth into joints. Move to a clean side of the cloth as it becomes soiled, or else the grime you scraped away can be redeposited onto the next surface.[1][2][3]
Test one section after drying. An out-of-sight patch may be less distressed or less heat exposed than the door above the stove, so it may not provide a clean result on every cabinet. If a first light pass enhances the greasy film but doesn't alter the finish then a second pass with that same allowable method may be acceptable. If no miraculous change occurs then use that as your conservative point to stop rather than go through with more concentration, pressure or contact time.
If the unknown-finish water test fails, wait until you can get cleaning approval. Request the cabinet line or replacement-door spec, any subsequent paint or coating applied, whether it's cured, and what cleaner and method of residue removal has been approved. Those factors will dictate if detergent can be used and if the residual film is still considered a cleaning issue.
Any NEW COATING OR EDGE CHANGE Terminates household cleaning of that area. Send your landlord photos showing the patch in dry condition along with the location, exact cleaner used and dilution if applicable, and what CAUSED THE CHANGE. Ask for finish ID and approval to respond. NEVER polish over an altered patch, reglue a bubbled covering, or refinish without approval. Any of these procedures can permanently mask original condition and change what was a LIMITED cleaning to a REPAIR.
Sources and references
- Kemper / MasterBrand: Care and Cleaning
- Formica: Laminate Cleaning and Maintenance
- KraftMaid: Care & Cleaning
- General Finishes: *How Should I Clean My Finished Project?
- Murphy / Colgate-Palmolive: Murphy Oil Soap Wood Cleaner, Original
- Canadian Conservation Institute: Care of Furniture Finishes, Canadian Conservation Institute Notes 7/2 (2017-09-11)
- Sherwin-Williams: Sher-Wood® Care & Cleaning Tips (2017-02)